
Airstream Renovation
AIRSTREAM RENOVATION
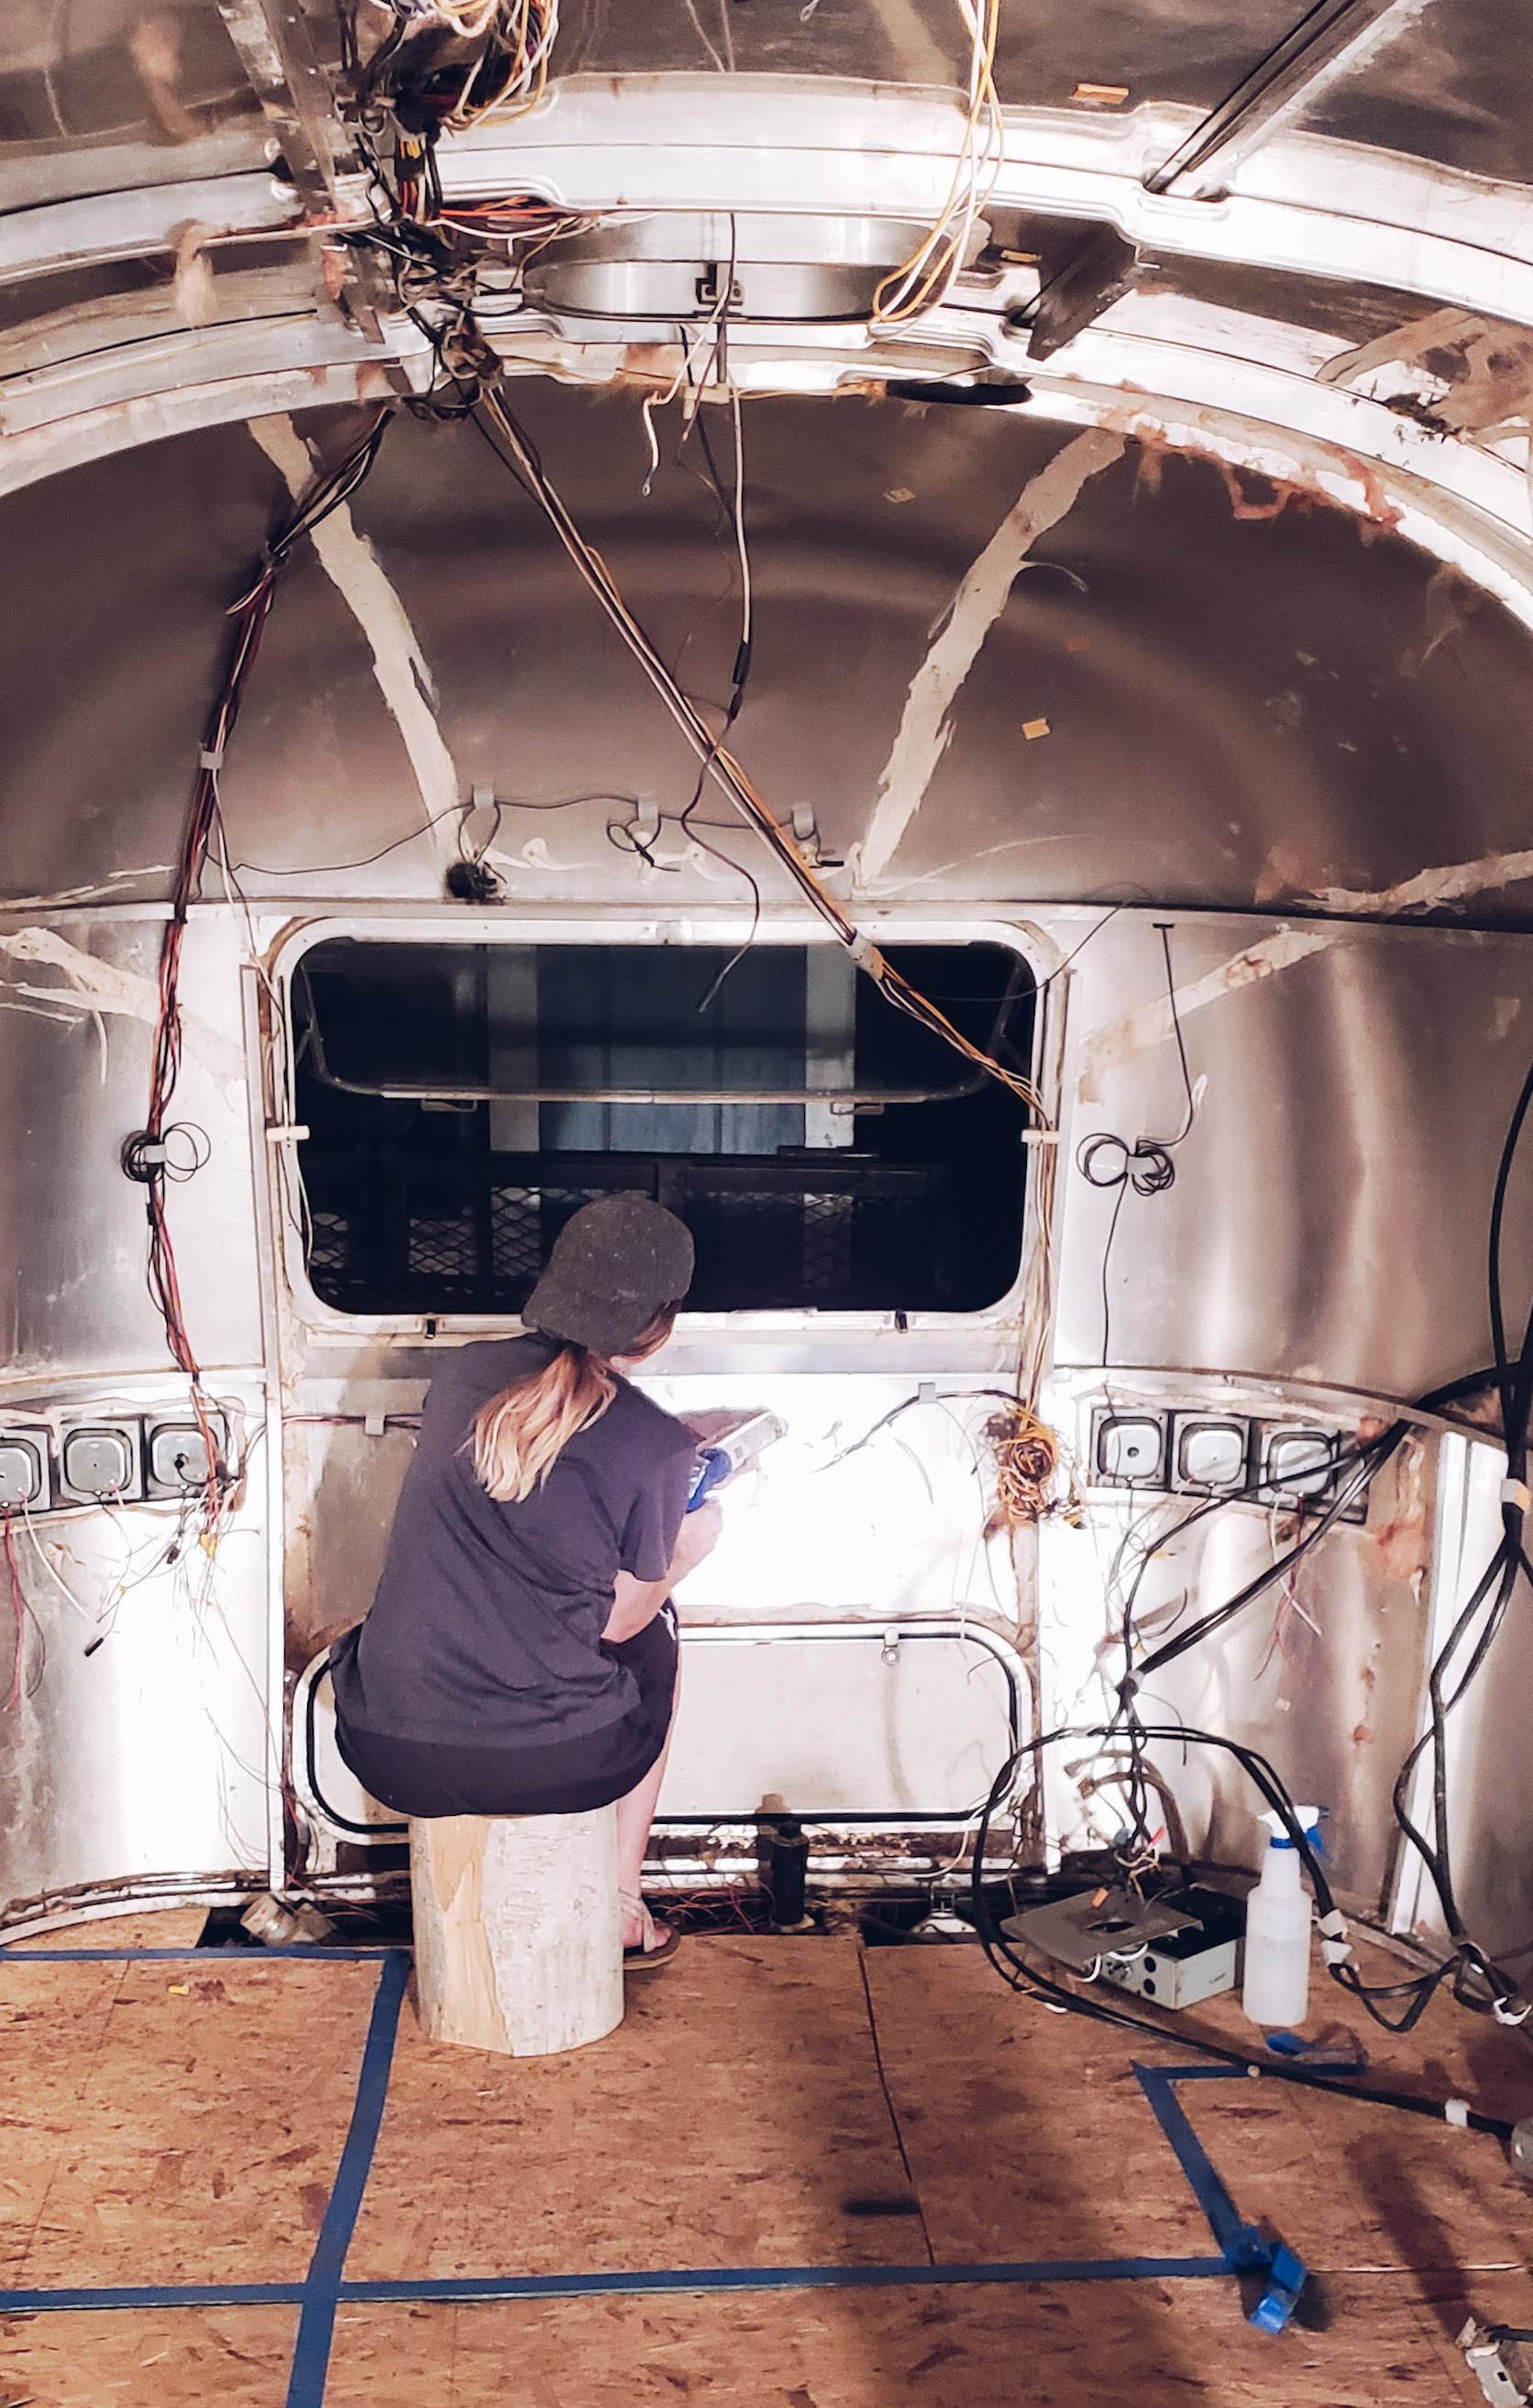
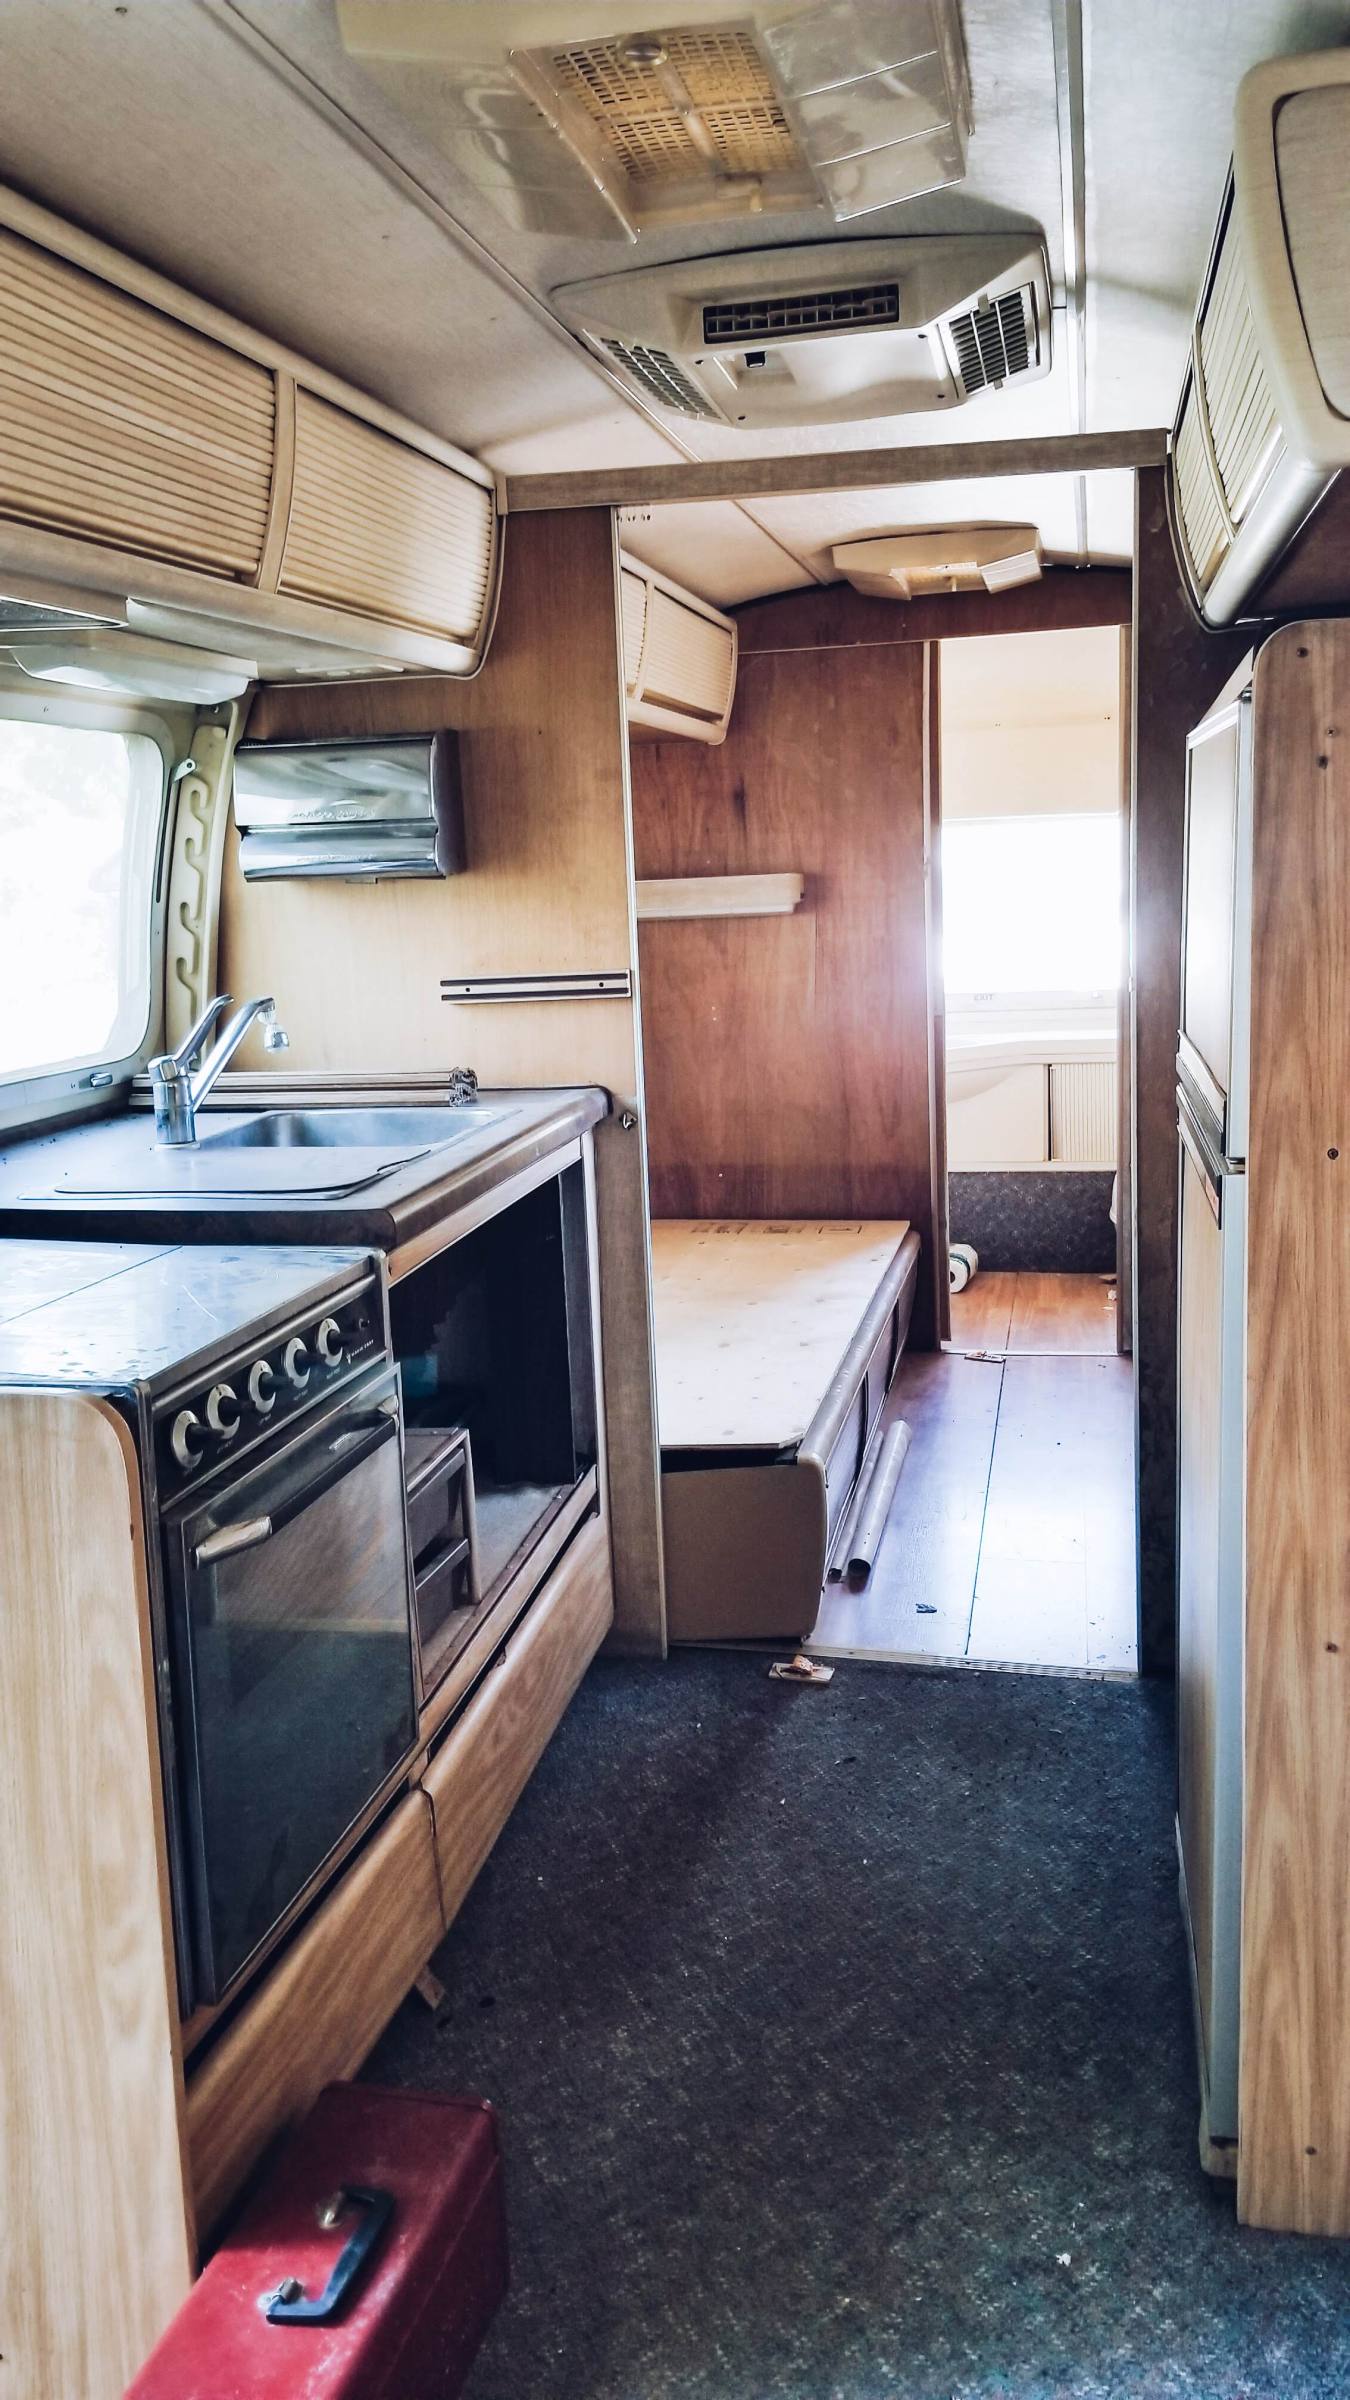
After the floors were in and before we could put the walls up, there was a bunch of little things to do. It was a rough stage because there was no satisfaction and we hit a major rut in our motivation. But during this stage we repainted the emblems, organized and fixed the electric, sealed leaks, and so much more. So many little things that you don't see on Pinterest but need to be done when renovating.
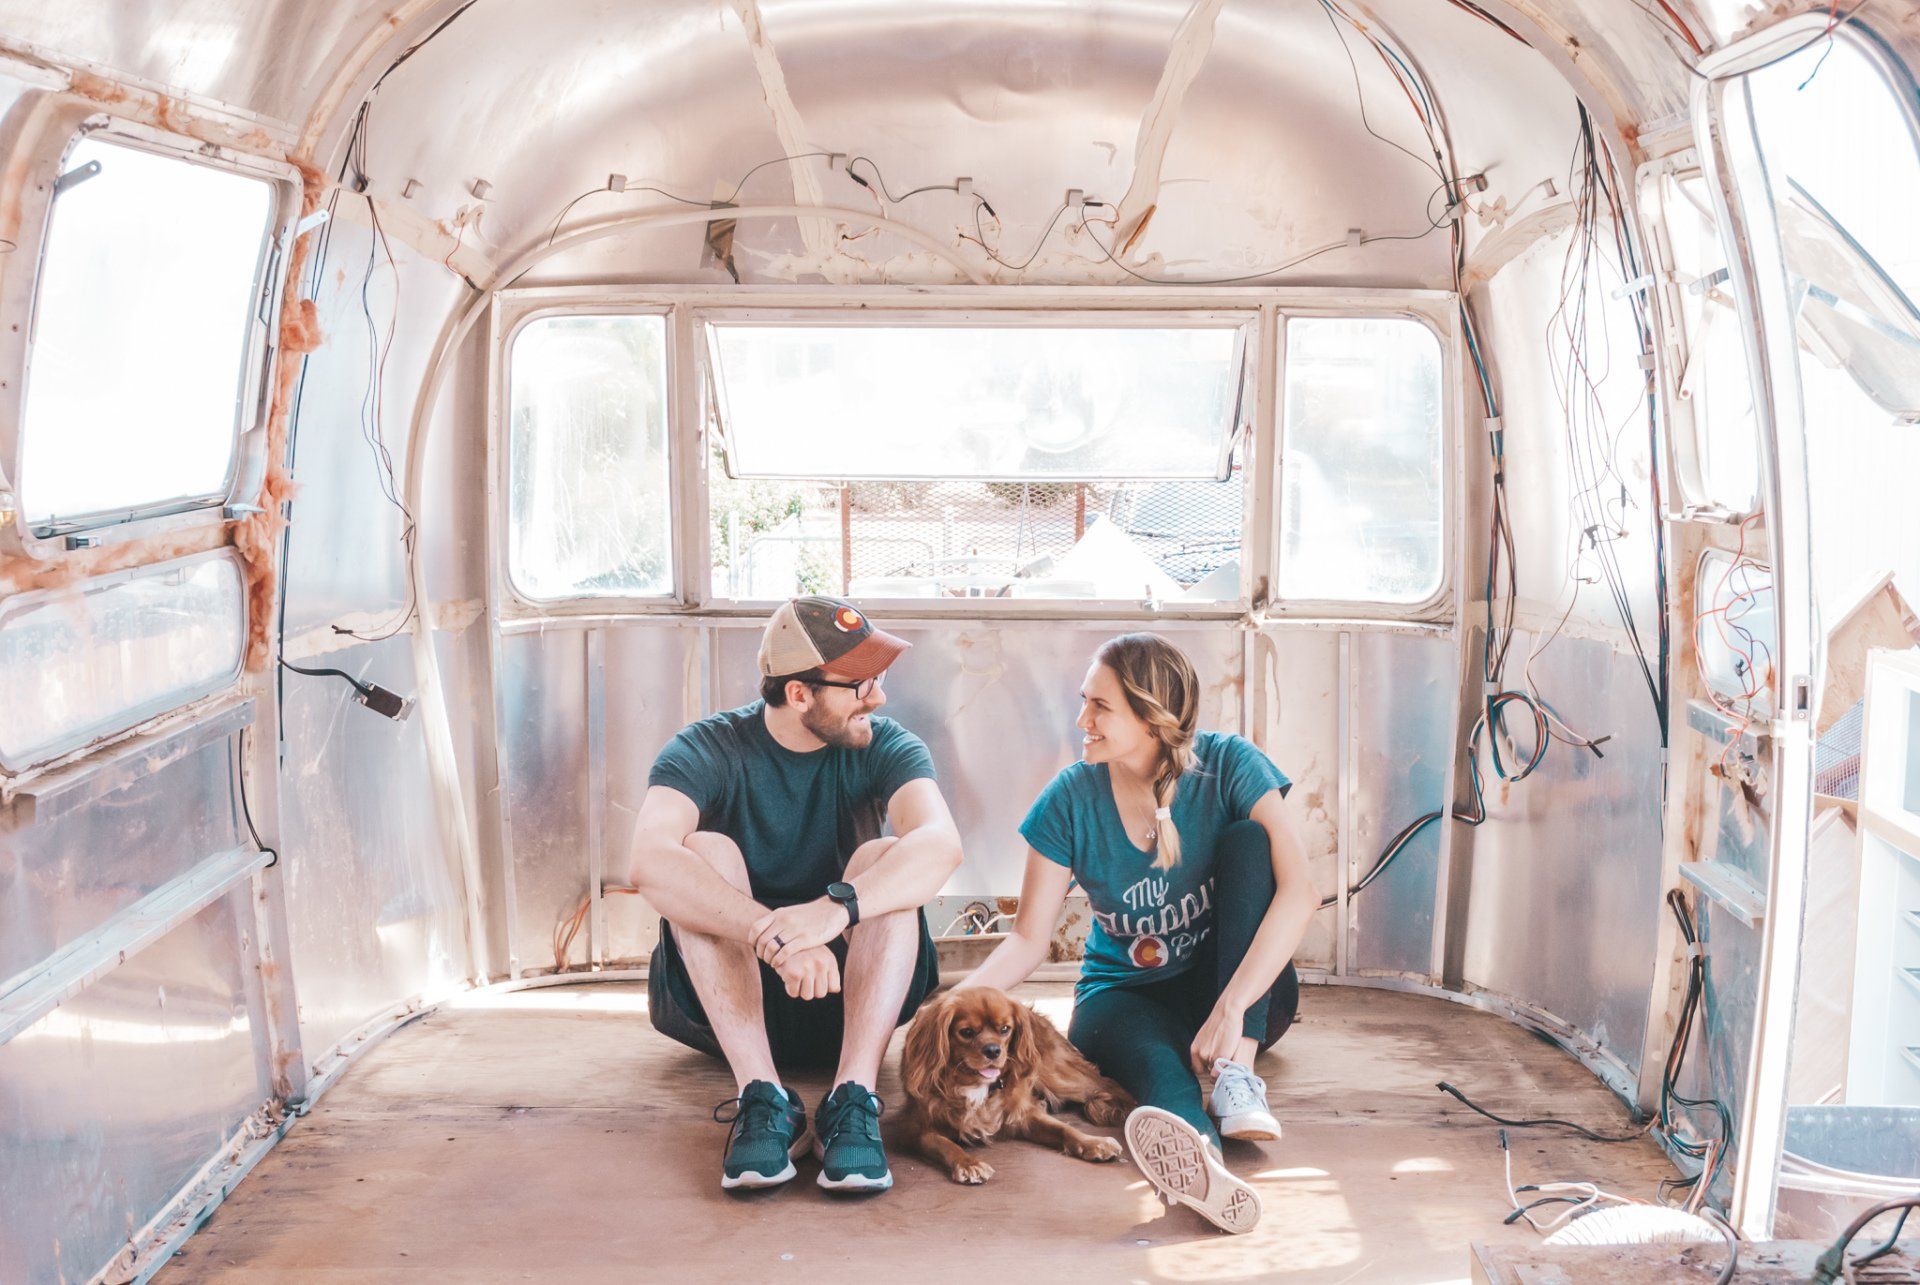
As soon as the floors were finished we collected our many layout sketches and the blue tape and went to the Airstream. We taped out the layout the best we could to get an idea of how everything would feel. For the first time, we started seeing the final project. To read about how we rebuilt our sub-floor click here!
The decision to rip out all the floors wasn’t easy. While the middle sections were all in good shape the two panels in the front and back were soft. We debated just replacing the soft areas but figured if we were going to do that we might as well do the entire floor. To read our demolition story click here. The two rusted beams in the bathroom came out with ease. We found a steel shop where we bought square metal tubing. Before replacing the floors, we welded the two beams back into place. While the metal frame and the underbelly were exposed we took some time to do some maintenance on them and the tanks. Since we are planning to use a compost toilet, we sealed off the black tank with Epoxy and turned it into a second grey water tank. We cleaned both the back tanks and also took out the fresh water tank from underneath and will be replacing it later on. We wire-brushed the rust off the metal frame. Next, we used XO Rust from True Value (similar to Rustolium, but we prefer this because it’s cheaper and lasts longer and we were very impressed by it.) to seal in the rust we couldn’t remove and to prevent more rust.
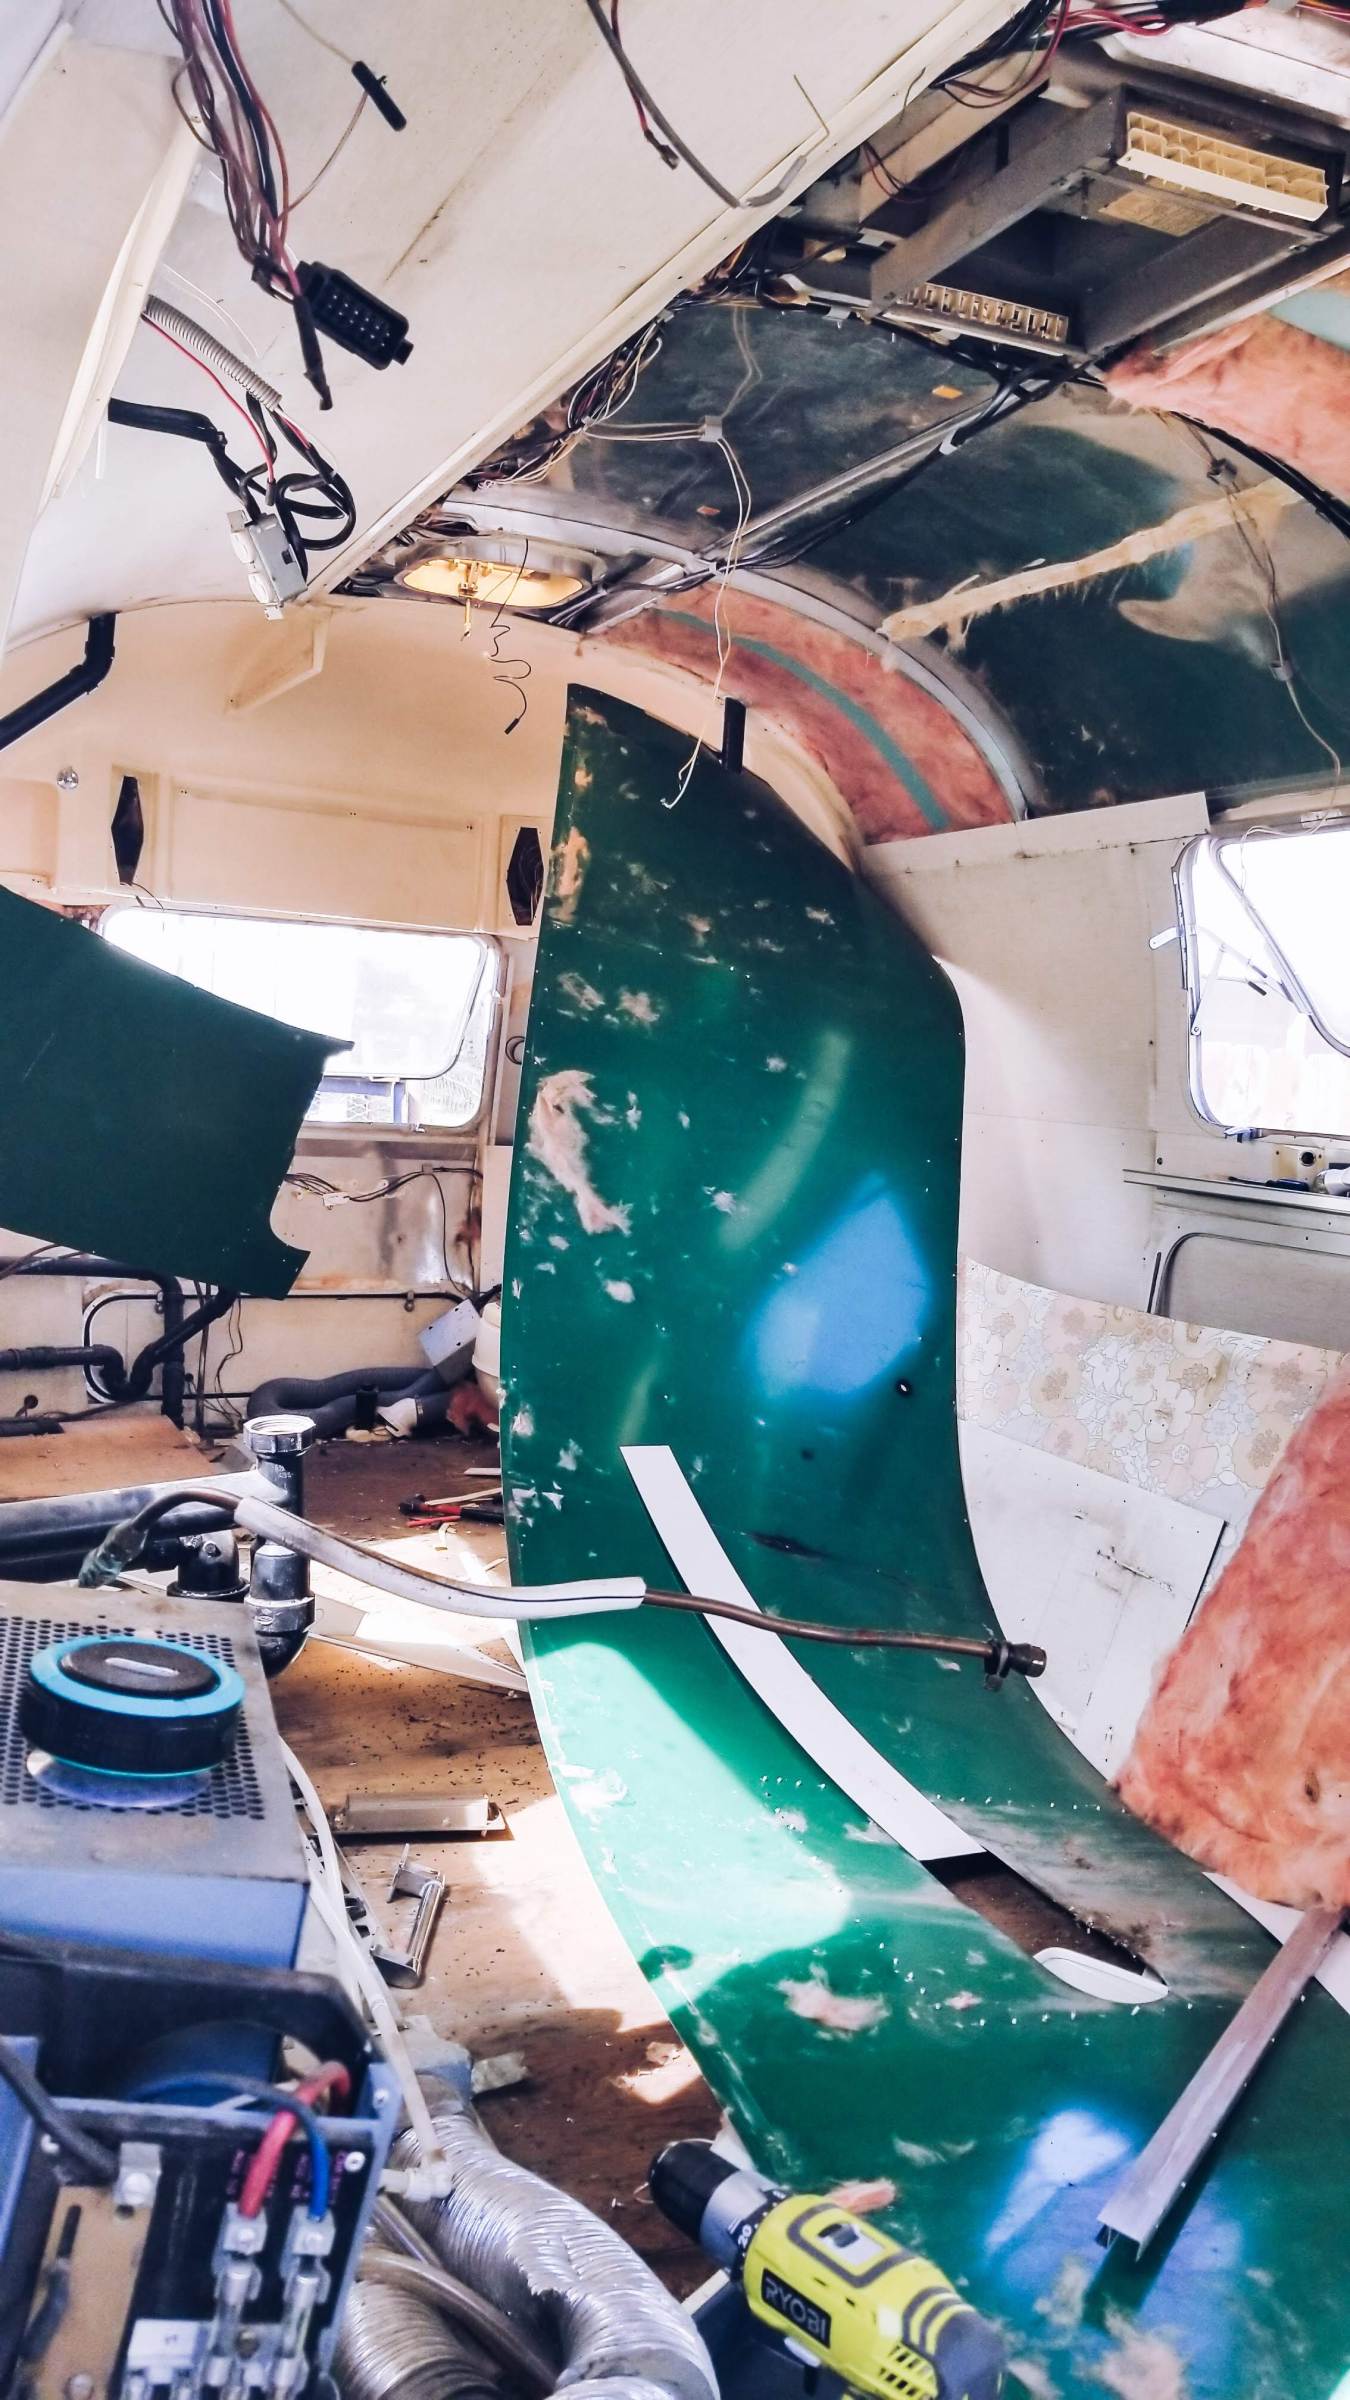
Demolition day began the day after we brought our Airstream home. After getting her parked in the backyard by the garage, we got a fair share of “before” pictures and then got to work. We invited the missionaries from The Church of Jesus Christ of Latter-Day Saints to come to help us rip out the insides. The Elders helped speed up our first demolition day so much! To check out the before pictures click here!
Cleopatra is a 27′ 1976 Airstream Land Yacht. She came to us in fairly good condition. Framing was great, all the electric worked, sub-floor was mostly good, heat and AC worked, brand new tires and axles, and double pane windows. A few downsides were mice had gotten in the insulation of the floors and walls, with that came an awful smell, two soft spots in the front and rear sub-floors, two exterior dents, bubbled windows, and a few more things that came up along the way. Overall she was a great find! For our first Airstream purchase, I still think we did a great job! To read our story about how we found our Airstream click here !
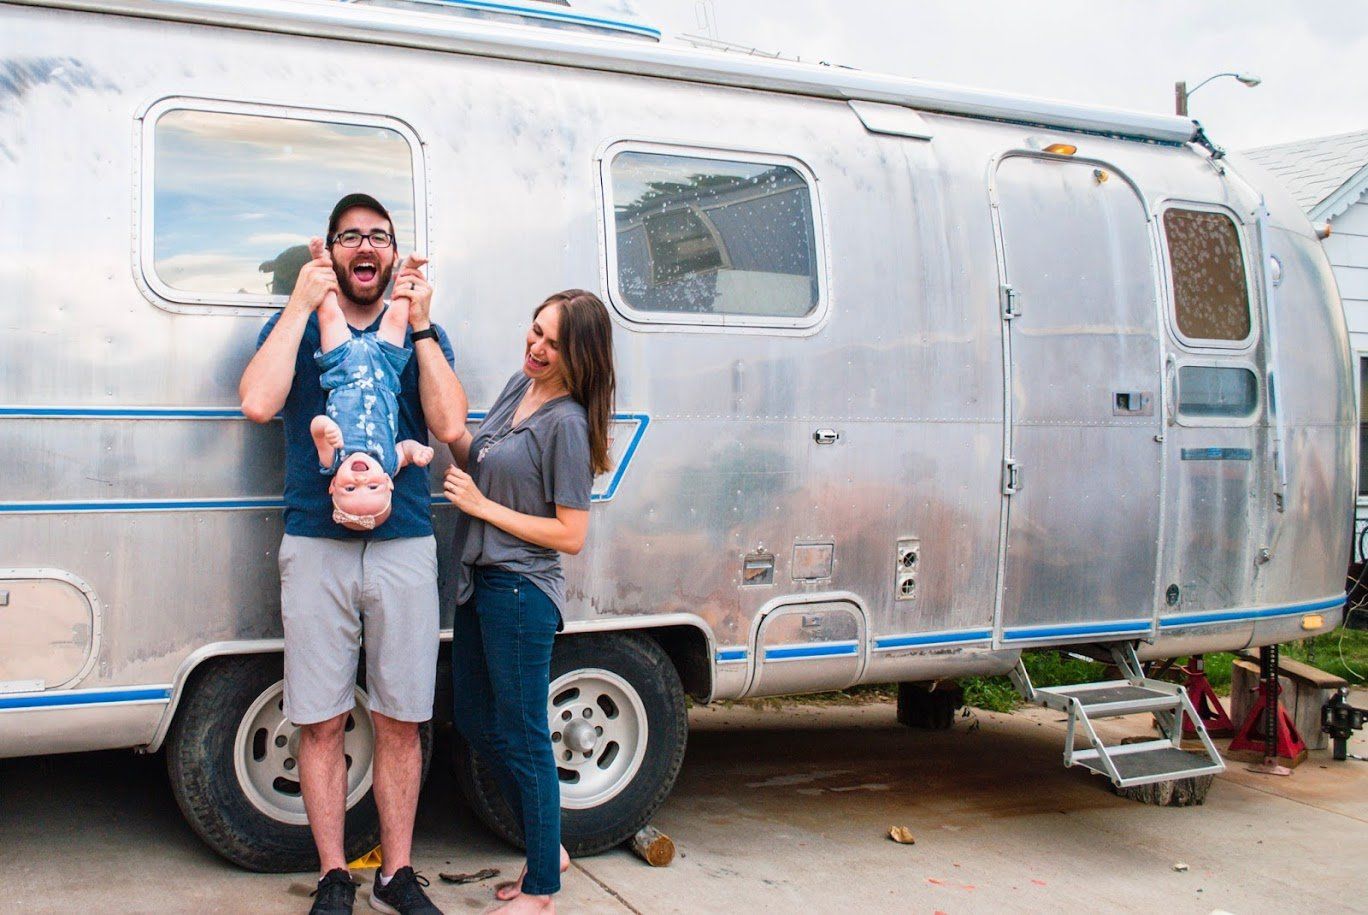
We had been going RV shopping for a couple of months and had an idea of what we wanted. When Jon first pitched the idea of traveling full-time, our first plan was an Airstream. One google search later and a look at the cost and we put that plan aside. We just couldn’t quite find exactly what we wanted within our budget. We drove out to Utah for Jonathan’s sister’s wedding up in the beautiful mountains. As we drove up for the rehearsal we passed by an Airstream sitting majestically in a field. “I would love to buy that Airstream.” Jon said off-handedly.